


What is the best fiberglass roof curing temperature for a long-lasting roof?
Fiberglass roof curing temperature controls strength, adhesion, and long-term leak resistance. However, temperature is only part of the story. Humidity and timing also matter. Therefore, this guide explains the curing window, smart monitoring, and simple on-site steps. As a result, you can avoid soft spots, bubbles, and future repairs.
What is the best fiberglass roof curing temperature for a long-lasting roof?
In most projects, the best fiberglass roof curing temperature is a steady, moderate range that supports a complete chemical cure. Therefore, aim for stable surface conditions and avoid sharp swings. Also, monitor humidity and surface temperature, not only air temperature. As a result, Fiberglass roof curing temperature stays consistent, and the membrane bonds evenly for years.
Why fiberglass roof curing temperature matters for durability
Fiberglass roof curing temperature sets the pace of the resin reaction. Therefore, it affects hardness, flexibility, and waterproofing. Also, uneven curing can leave weak zones that crack later.
Alpha & Omega Fiberglass often sees failures that start with rushed curing. However, controlled conditions reduce rework and callbacks. Therefore, stable curing supports a smoother finish and better adhesion.
Therefore, steady curing lowers blister risk and pinholes.
Also, proper bonding helps prevent delamination at seams.
Moreover, a uniform cure supports better UV and weather resistance.
Key factors that influence curing results
Fiberglass roof curing temperature depends on several jobsite realities. For example, sun exposure can heat dark surfaces quickly. However, shade and wind can cool the substrate.
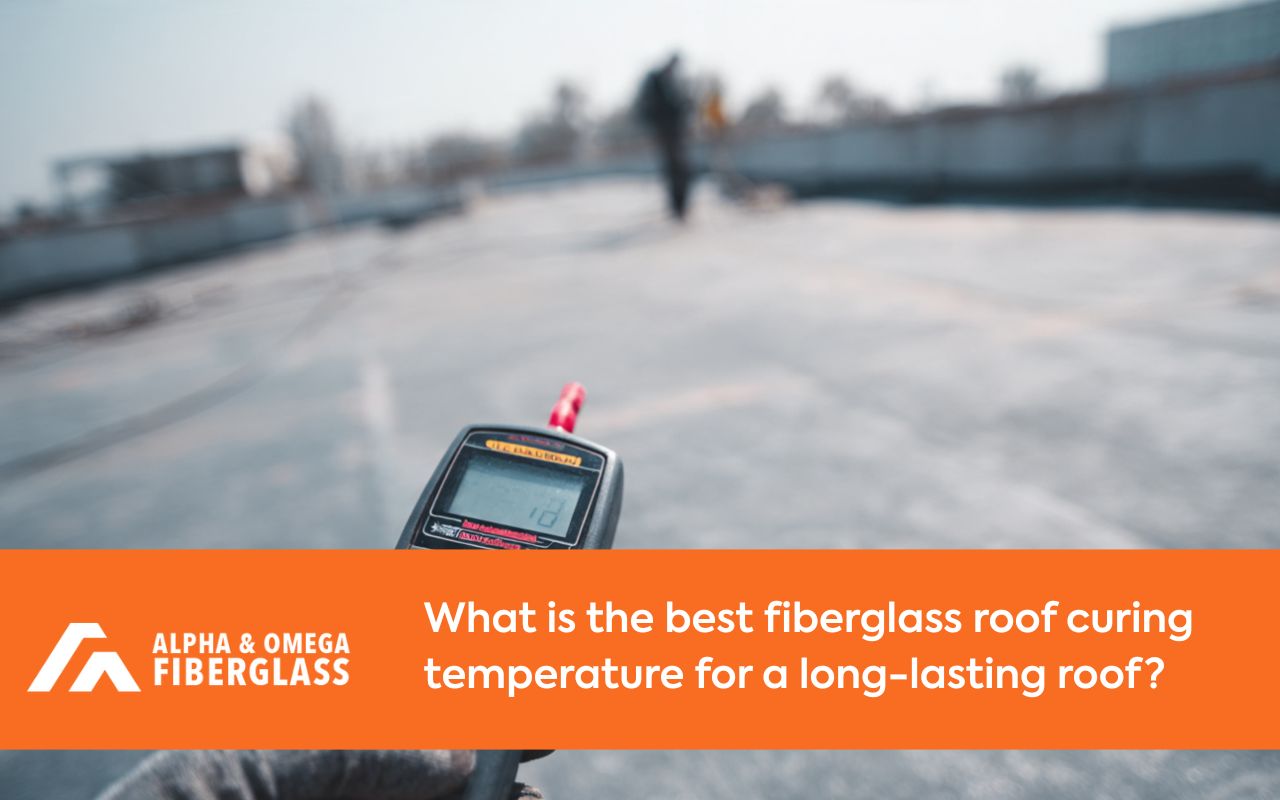
Also, substrate temperature can differ from the air. Therefore, measure directly on the roof surface when possible. In addition, airflow can stabilize conditions and reduce trapped vapors.
Therefore, check surface temperature at multiple roof zones.
Also, plan for sun, shade lines, and late-day cooling.
Moreover, use safe ventilation to reduce solvent trapping.
Recommended temperature range and the curing window
In many systems, installers target moderate conditions for a predictable cure. Therefore, many crews plan work when surfaces stay around 60°F to 85°F. Also, that span often supports a reliable curing window.
However, when temperatures drop, cure can slow and stay tacky longer. Therefore, moisture exposure becomes a bigger risk. Also, when surfaces get too hot, skinning can trap vapors and cause bubbles.
As a result, fiberglass roof curing temperature should stay steady during the first critical hours. Moreover, keep notes, because conditions can change fast.
Humidity limits and why moisture can ruin the cure
Humidity limits matter because moisture can interrupt bonding. Therefore, high humidity can leave soft or sticky spots. Also, extreme dryness can speed evaporation and cause tiny voids.
However, the real risk is change during cure. Therefore, watch dew point and overnight fog. Also, avoid coating when condensation is likely.
Therefore, check forecasts for fog, drizzle, and overnight dips.
Also, keep surfaces dry before, during, and after application.
Moreover, pause work if condensation forms on the membrane.
Winter installs without costly surprises
Winter installs demand more planning and more monitoring. Therefore, preheat materials when allowed by the manufacturer. Also, warm the surface safely when temperatures sit near the lower limit.
However, you should avoid overheating with direct flames. Therefore, use controlled heat and verify the surface often. As a result, fiberglass roof curing temperature stays inside a safe band even in cold snaps.
Alpha & Omega Fiberglass can help plan staging and timing for cold-weather work. Therefore, the cure stays consistent, and the finish stays clean.
Cure time ranges and what changes them
Cure time ranges vary by resin chemistry, layer thickness, and weather. Therefore, thin layers can firm up faster than thick builds. Also, cool nights can extend cure time ranges into the next day.
However, “dry to touch” is not always “fully cured.” Therefore, avoid early foot traffic and heavy loads. Also, follow the manufacturer’s schedule for full service return.
Therefore, track start time, temperature, and humidity every few hours.
Also, keep access limited until the coating is truly set.
Moreover, plan buffers for changing weather and short winter days.
How to control fiberglass roof curing temperature on site
Fiberglass roof curing temperature is easier to manage with a simple routine. Therefore, use a repeatable checklist on every job. Also, assign one person to record conditions.
Therefore, measure surface temperature in sun and shade before mixing.
Also, confirm the forecast for the full cure period, including overnight.
Moreover, stage materials so they stay near the target temperature.
Therefore, maintain steady airflow to reduce trapped vapors.
Also, document readings and photos for accountability and clarity.
Alpha & Omega Fiberglass follows process discipline to reduce surprises. Therefore, crews stay aligned, and results stay consistent.
QA sign-off and the checks that protect your roof
QA sign-off should confirm cure quality, not just appearance. Therefore, check hardness, adhesion, and uniform finish. Also, confirm edges, drains, and penetrations are sealed cleanly.
However, documentation matters too. Therefore, store readings, photos, and batch notes. As a result, you can prove conditions and support warranty expectations.
Therefore, confirm the surface is firm and consistent across zones.
Also, inspect for bubbles, pinholes, and tacky areas.
Moreover, verify terminations and seams before reopening access.
Frequently asked questions
How do I know if fiberglass roof curing temperature is too low?
Usually, slow tack-free time and soft spots are early clues. Therefore, check surface temperature, not only the air. Also, use your recorded readings to spot drops overnight. If you need a pro inspection, use Fiberglass Roof Repair | Protect Your Home with Expert Care.
What should I do if curing is uneven after a cold night?
First, restrict traffic and stop adding layers. Therefore, evaluate for tackiness, bubbles, or trapped vapors. Also, plan corrective work before water intrusion spreads. If conditions turn urgent, review Emergency Fiberglass Roof Repair Philadelphia Services for next-step guidance.
Can humidity limits change the finish even if temperatures look perfect?
Yes, humidity limits can change bonding and surface feel. Therefore, watch dew point and condensation risk. Also, pause work when surfaces cannot stay dry. For a structured field approach, see Our Fiberglass Roofing Process | Alpha & Omega Fiberglass.
How do I plan winter installs in Norristown or Phoenixville?
Plan around the warmest daytime window and stable nights. Therefore, confirm the forecast for the full cure period. Also, measure the substrate temperature before mixing resin. If you want local support, visit Fiberglass Roofing in Norristown, PA | Durable Roof Solutions or Fiberglass Roofing in Phoenixville, PA | Durable & Affordable Solutions.
Who should approve QA sign-off when the roof is ready?
Ideally, a qualified installer or inspector should verify cure quality. Therefore, confirm hardness, adhesion, and clean terminations. Also, keep photos and readings for the record. If you want Alpha & Omega Fiberglass to review your project, use Contact Us | Alpha & Omega Fiberglass Philadelphia, PA.
Get help from Alpha & Omega Fiberglass
Fiberglass roof curing temperature can feel simple until weather shifts fast. Therefore, expert planning reduces risk and protects your schedule. Alpha & Omega Fiberglass supports better curing outcomes with clear process and field documentation. Also, Alpha & Omega Fiberglass can help with repairs when curing problems appear. Moreover, Alpha & Omega Fiberglass can support local projects and emergency response. Therefore, reach out today through Contact Us | Alpha & Omega Fiberglass Philadelphia, PA and protect your roof with confidence.
